
Finding Center of Rotation#
Today, there are two tools to search for the center of rotation (COR) in Tomwer.
default center of rotationwidget (akaaxiswidget)semi-automated center of rotationwidget (akasa-axiswidget)
default center of rotation widget  #
#
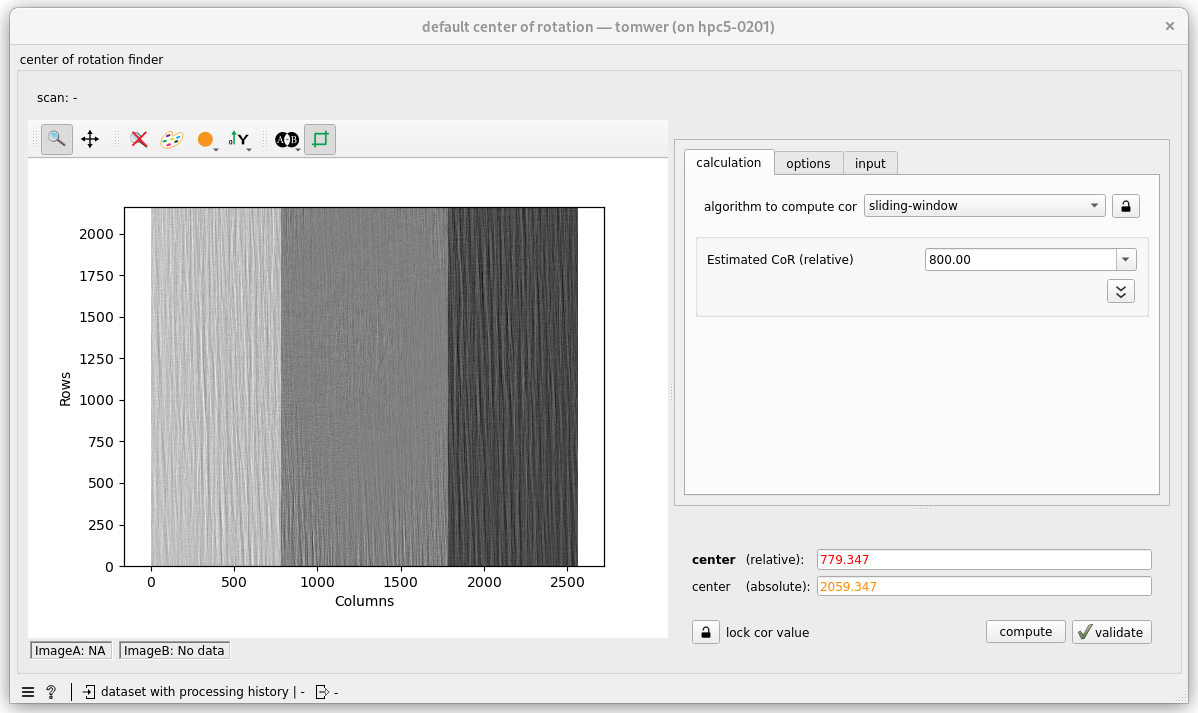
This is the default widget to use in order to define/search the COR.
It contains several methods:
- manual: lets the user find the COR value by overlapping two projections at 'opposite' angles.
- nabu algorithms: calls directly nabu auto-COR methods such as `centered`, `growing window`, `composite-coarse-to-fine`...
It also contains two modes:
- interactive (default)
- automatic
Interactive Mode#
The user can select an algorithm and compute the COR (using the “compute” button) or search it manually.
Once satisfied with the value, they can “validate it” through the “validate button”.
Then only the scan will be moved to the next widget.
Automatic Mode#
When the “lock button” near the algorithm is locked ![]() , the scan computes the COR from the defined algorithm and picks the value to move to the next widget.
, the scan computes the COR from the defined algorithm and picks the value to move to the next widget.
When the “lock value” near the value is locked (algorithm in this case is set to ‘manual’): it picks the value already defined and moves to the next widget.
[1]:
from tomwer.resources.video import Video

Video("sc3Pmg7zWHQ", height=500, width=800)
[1]:
multi-CoR widget  #
#
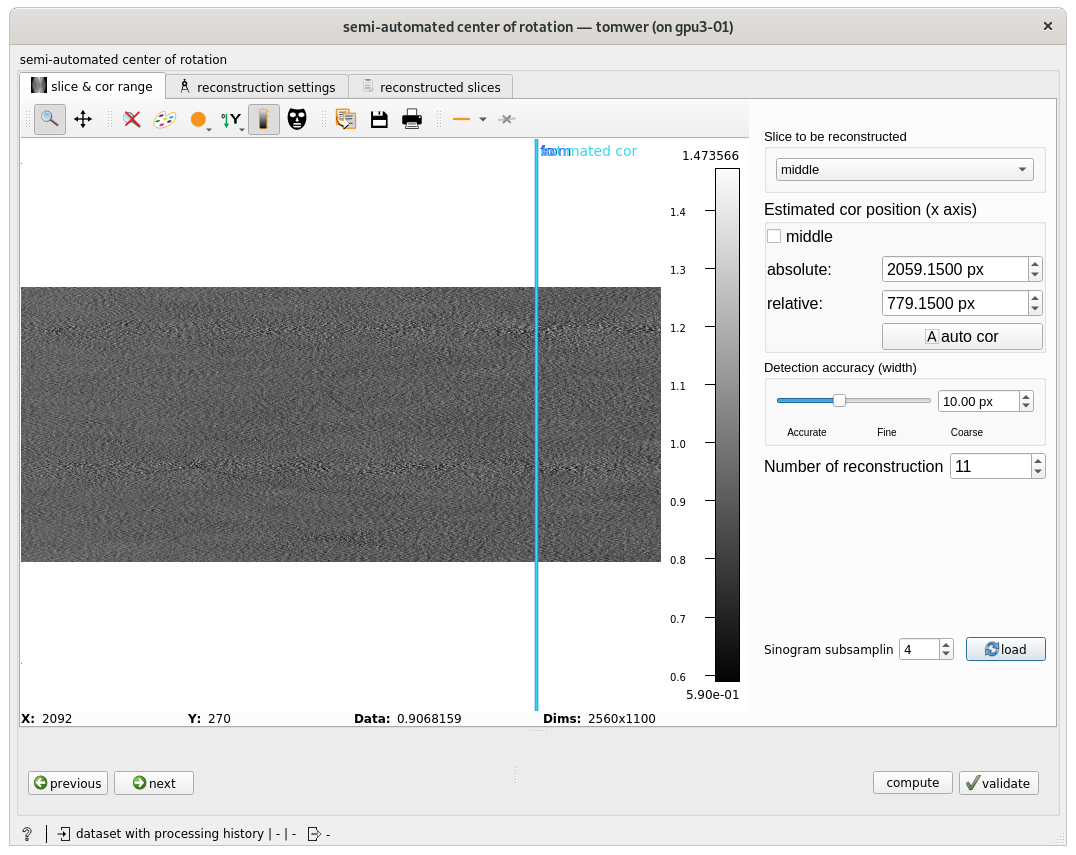
If automatic COR calculation fails (e.g., due to a lack of features) or to ‘fine-tune’ some approximate COR, the user can use this widget to reconstruct a given slice with different COR values (a range or a set of values).
Interactive Mode#
In this mode, the user must:
Fill the “slice and COR range”
1.1 Select the slice to be reconstructed (for each COR value)
1.2 Provide an estimate of the COR (next COR values will be distributed around this value)
If a widget is defining it upstream (like the default center of rotation), this value will be set automatically. Otherwise, you can enter it manually or compute it from one of the nabu algorithms (
auto CORbutton).
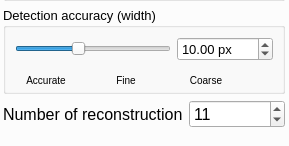
1.3 Define the research width
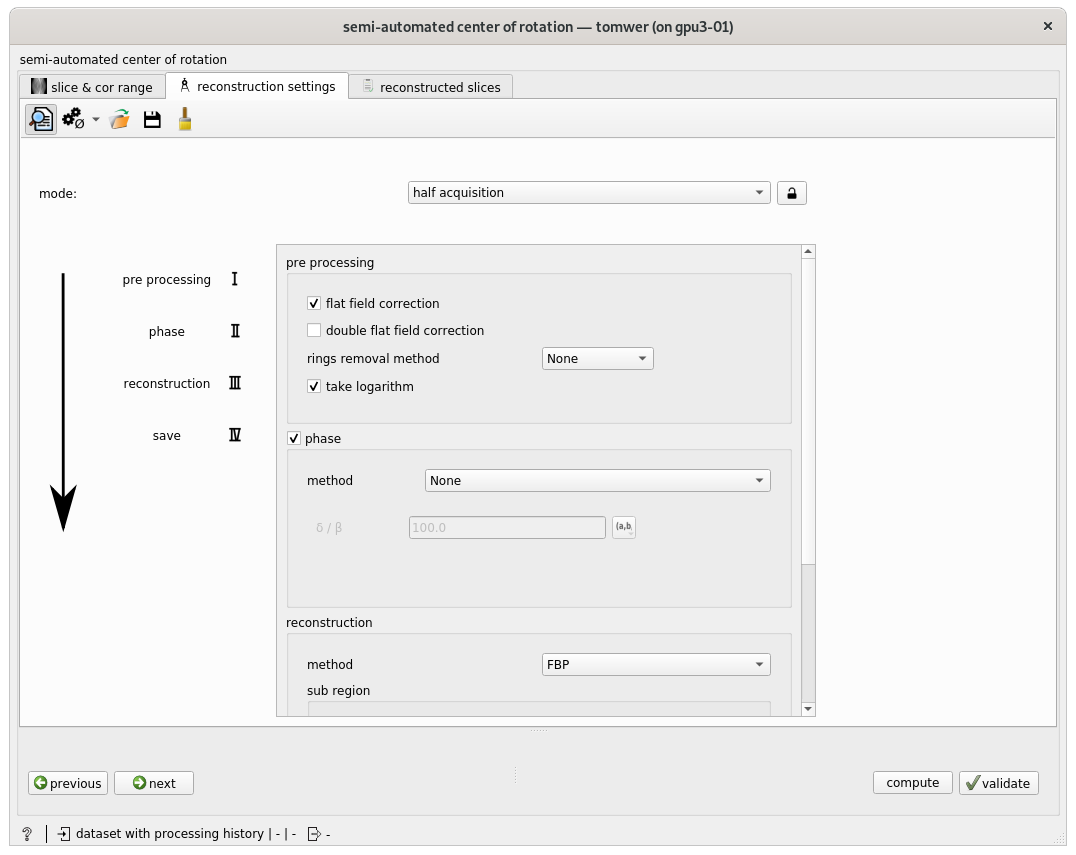
Fill the nabu parameters
Then you must define the nabu parameters for the reconstruction from the dedicated tab:
Launch computation
By clicking the ‘compute’ button
Look and validate the best COR found.
Once all the selected slices are reconstructed for all the COR values, they will be displayed (on the reconstructed slices tab) so the user can select the best COR to be used in the downstream workflow.
A score is also computed for each slice (
standard deviationandtotal variation) to provide some hints to the user and automate the COR selection when possible.
Video for multiCoR - Interactive Mode#
[2]:
from tomwer.resources.video import Video

Video("ezKjbpmA2FQ", height=500, width=800)
[2]:
Hands-on Exercise A#
Try to find the best COR possible for the bamboo_hercules dataset using the multiCoR widget.
Automatic Mode#
If you want to avoid any interaction, you can lock the ‘autofocus’ button on the ‘reconstructed slices’.
In this case, once all slices are computed, it will pick the slice with the highest score (according to the CTIVA method) and move to the next widget (1 / total variation on the following screenshot).

Tips: You can connect several widgets one after the other.
Video for multiCoR - Auto Mode#
[3]:
from tomwer.resources.video import Video

Video("G9G55lGuDeA", height=500, width=800)
[3]:
[ ]: